Fuck Ads
I started Neutral Spaces because I wanted my friends & their friends to have a zero-cost place on the internet which was ad-free for their work.I know some people would prefer to have 100% control of their site and its contents, so I've written this guide to teach you how to make your own website with zero-ads and zero-cost.
By the end of this you'll have a fully customisable website, hosted on GitHub with no ads and for free!
Making your site
If you're comfortable with html and css and just want to know how to host your site you can skip this whole section. For those of you who aren't, I've made a very simple template page (view here) which you can download and edit.Adding in your content
If you download the template and open the index.html file using your web browser, you should see the beginnings of your site: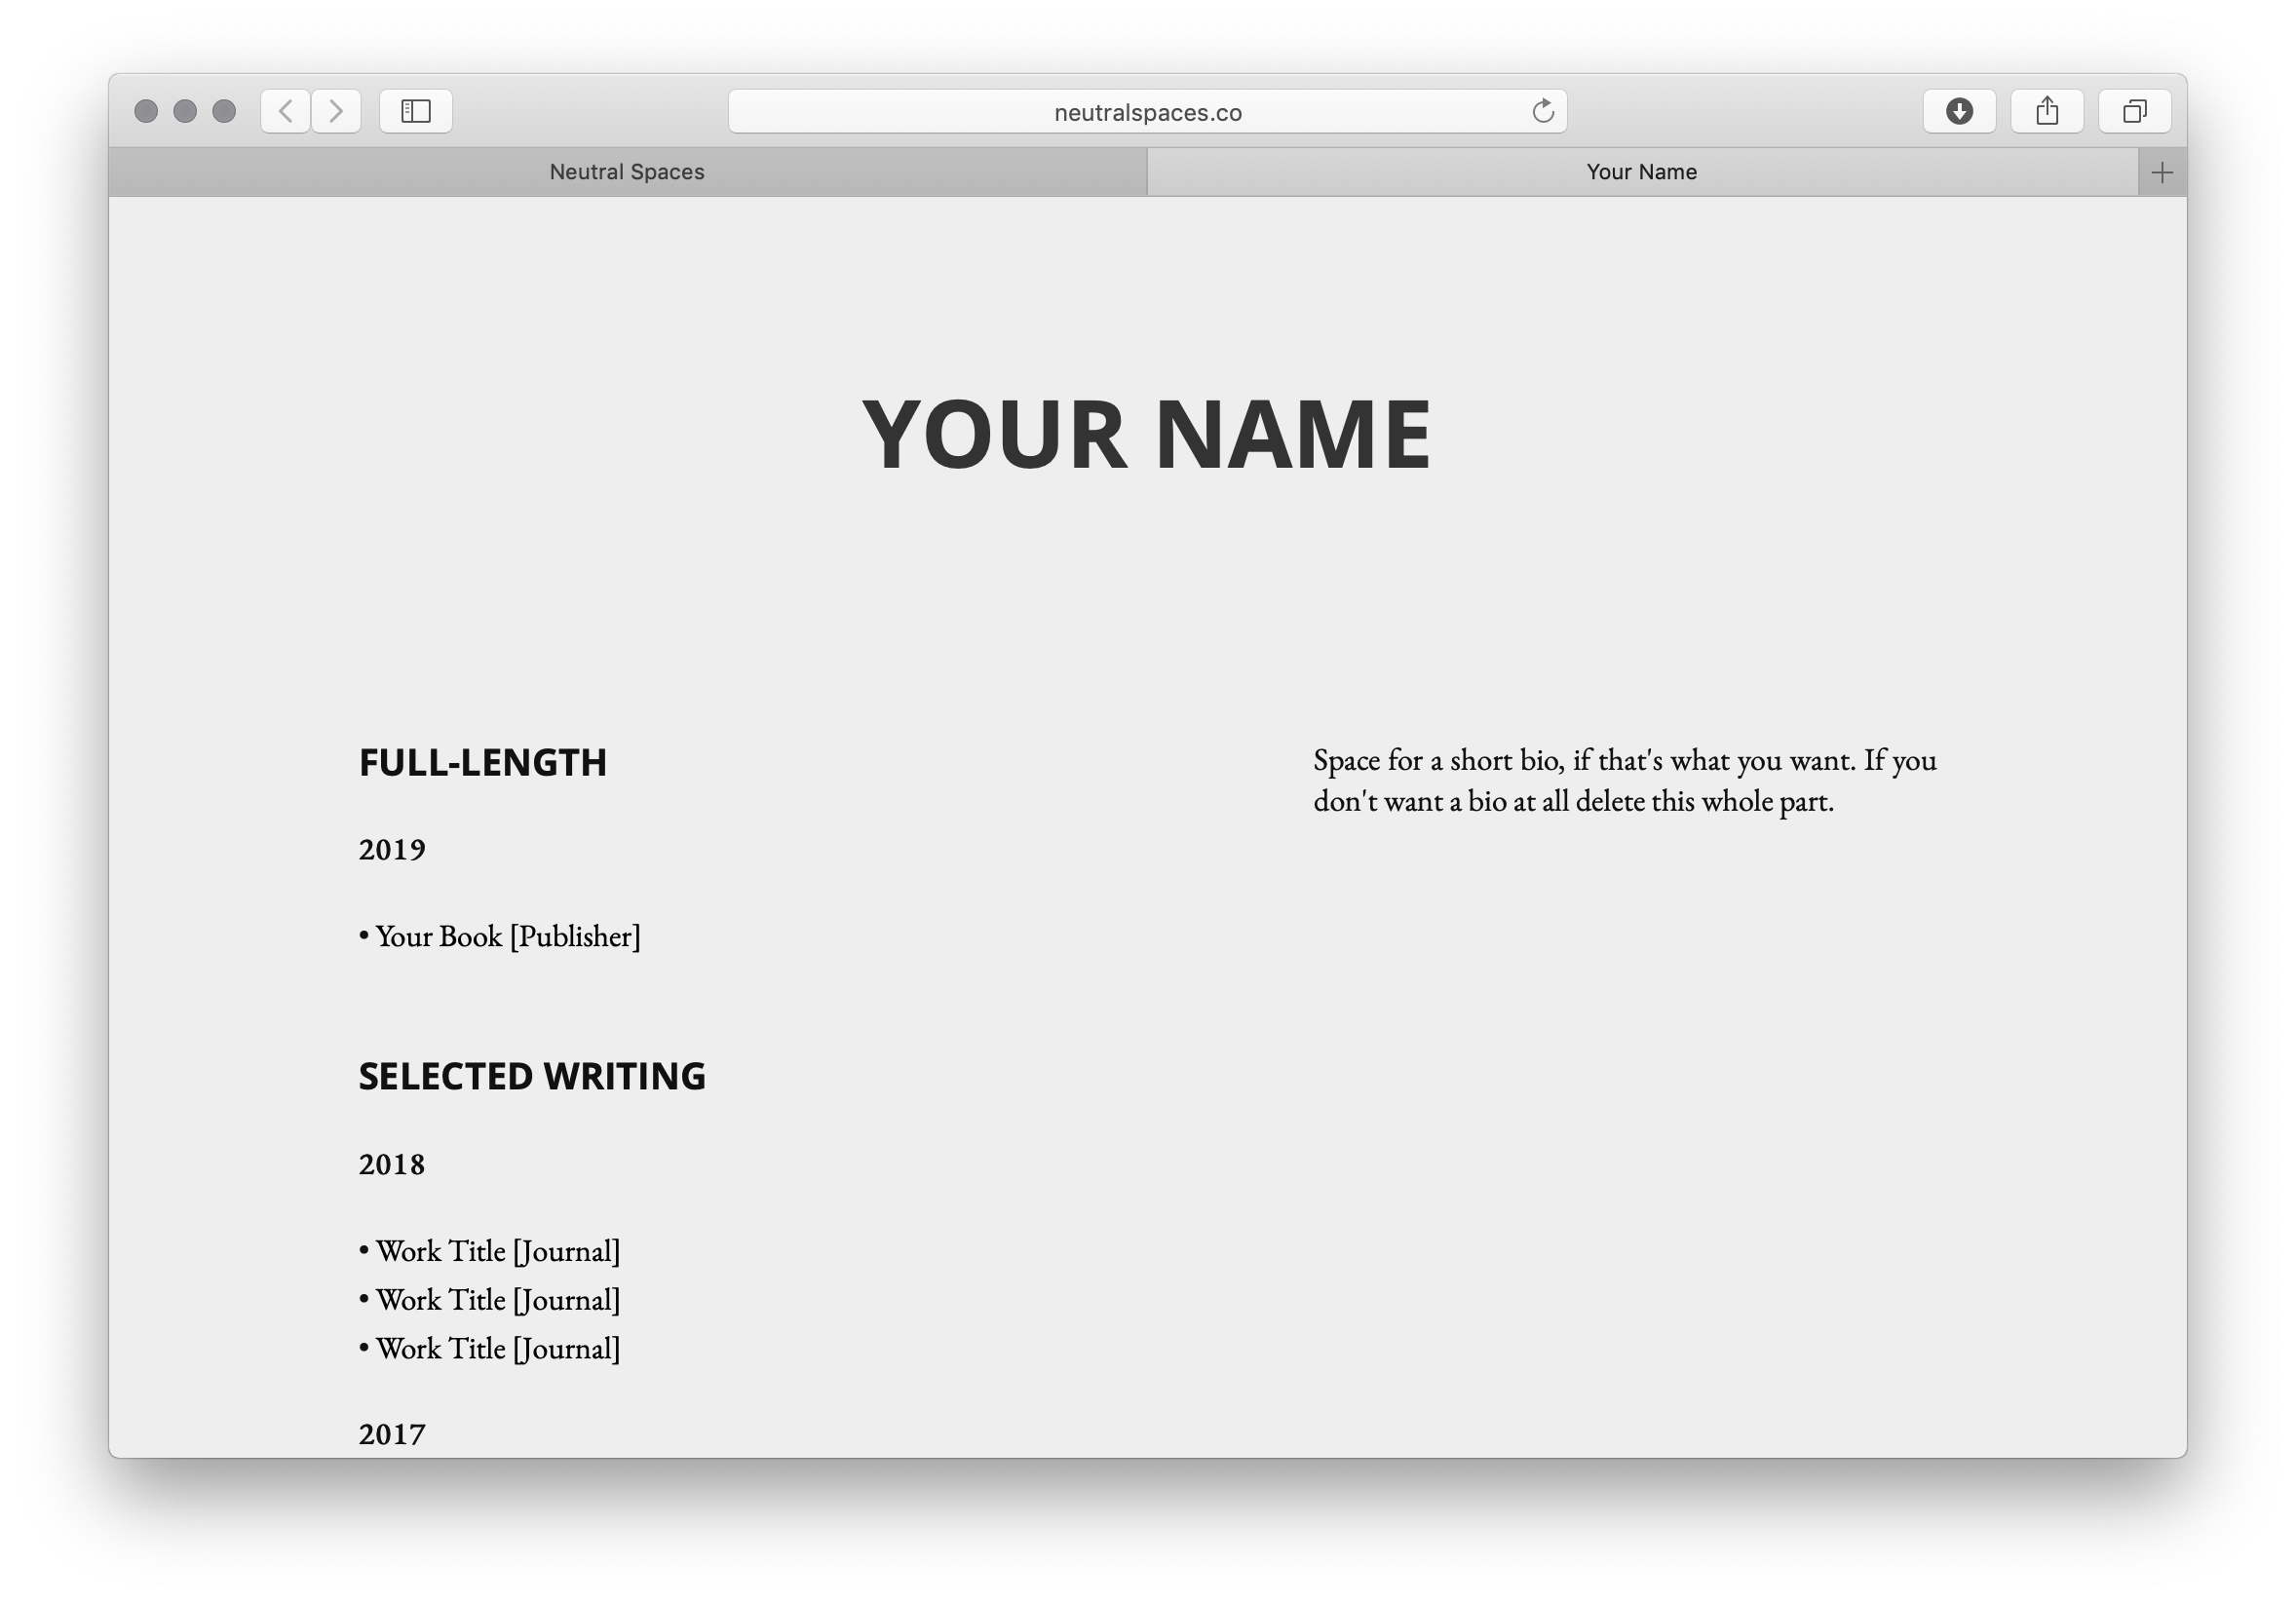
- Name
- Bio
- Published Work
- External Links
Making Changes
We are able to see how the site looks by opening index.html using a web browser, but to make changes we're going to need to use a text editor. For Mac you have "TextEdit" and for Windows you have "Notepad". I use the application Atom which adds colour to the text file: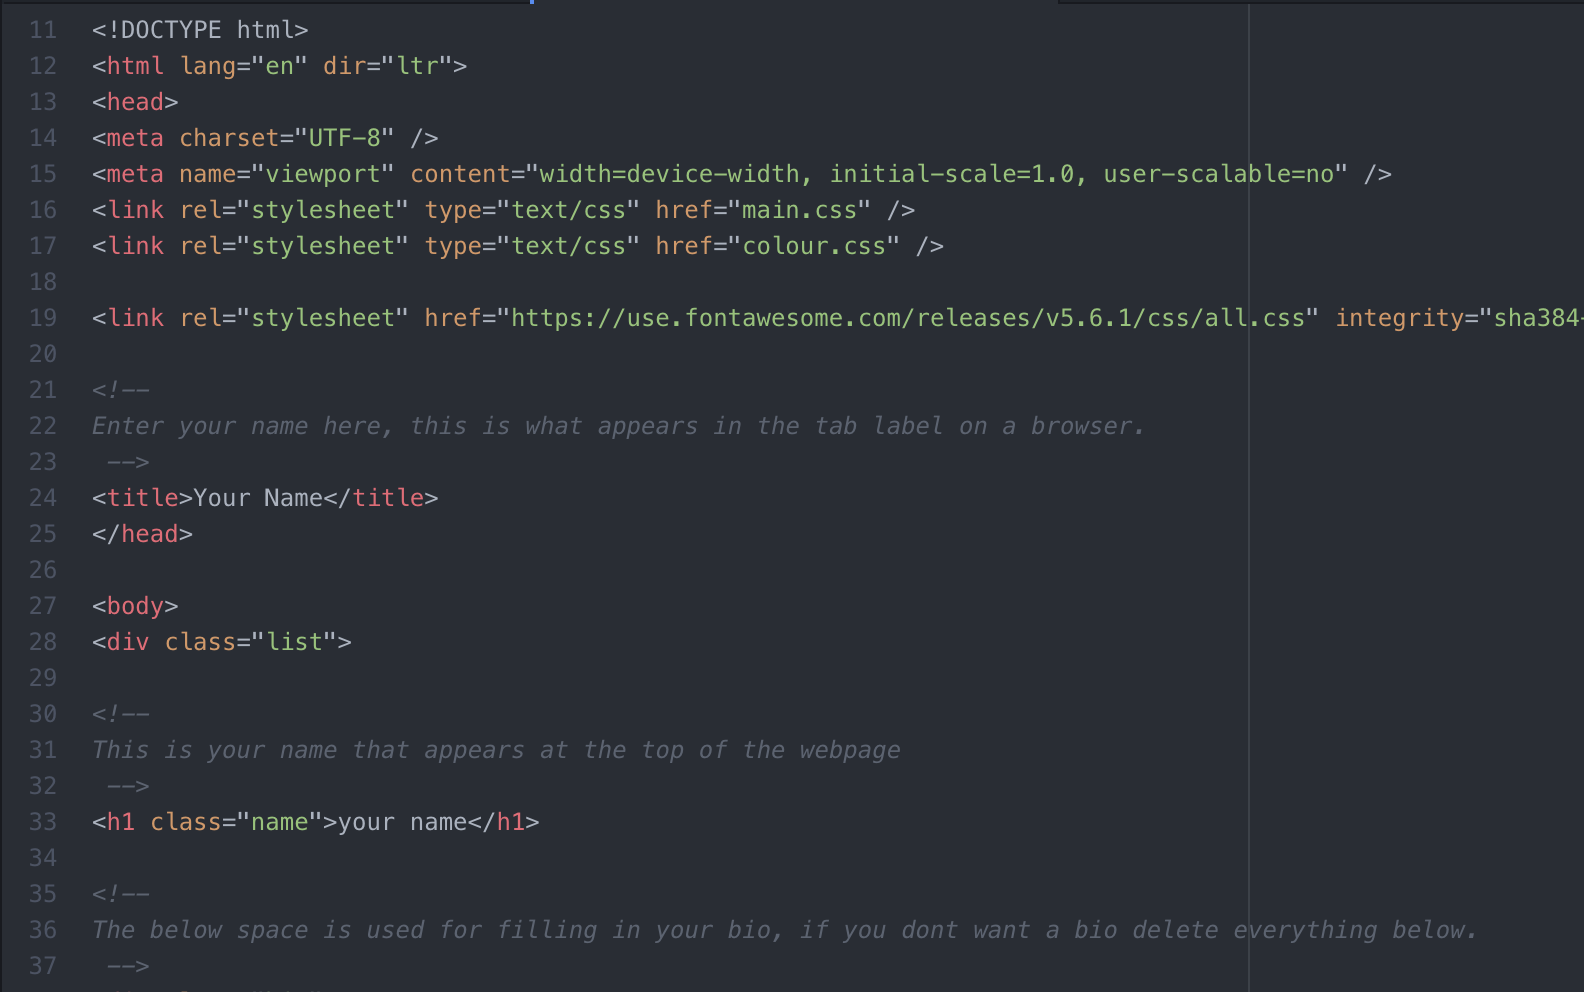
This makes it easier for me to edit, but isn't necessary. Using your text editor to open index.html you should see the text above. I have added comments to the file itself to help you understand what's going on. After you make a change to a file and save it, you will be able to see the changes you have made by refreshing your browser.
I recommend keeping the index.html file open in both your text editor and your browser to make it easy to check your edits.
Let's start editing by getting your name onto your new website.
Your name will appear in two places by default. One is the "page title", which is what appears on your page when you have it open in a tab. You will see this in the tags: <title>Your Name</title>. Change this either to your name, or whatever you want to call your website.
The second place is in the "header tags" <h1>Your Name</h1>. You see this on the website as the large, bold characters at the top of the page.
Now let's fill in your bio. This is as simple as just deleting the filler I've added in and typing in whatever you'd like. If you don't want a bio at all, then delete this whole section:
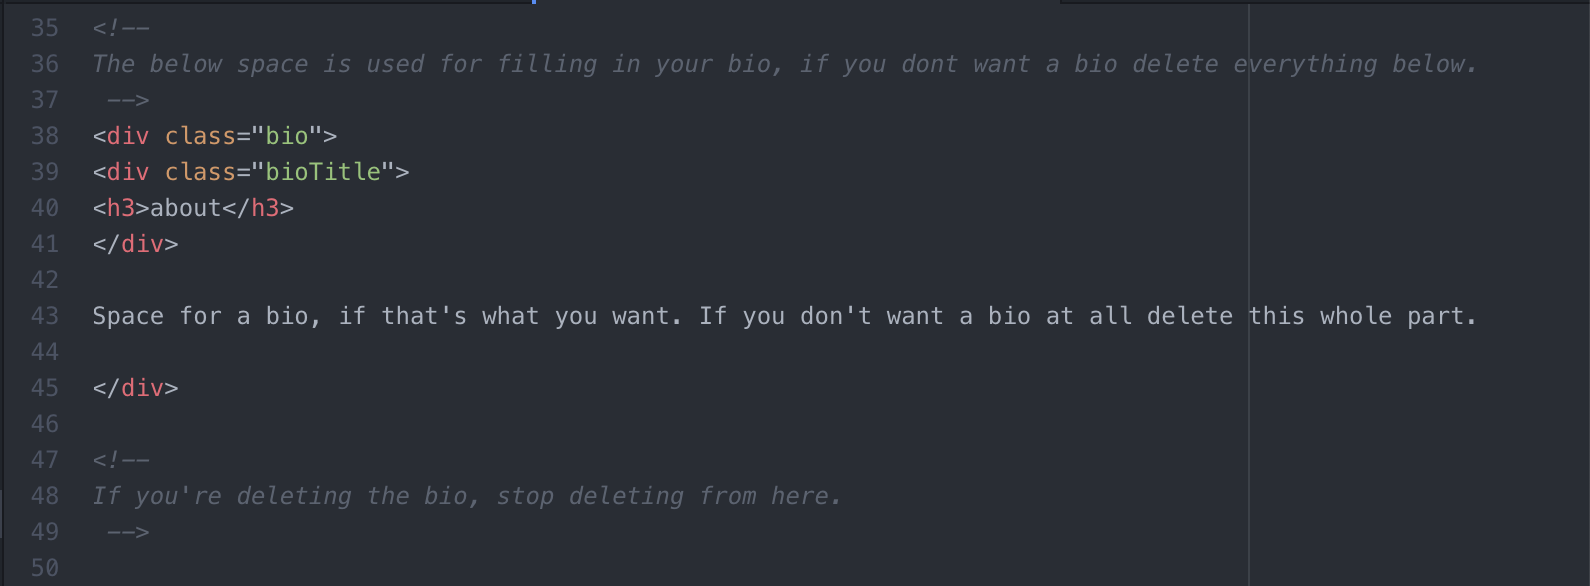
Note for beginners: if you want to add in a line break in your bio, then type: <br>.
Now we're onto the important bit: adding links to your work. This is done by editing this part:
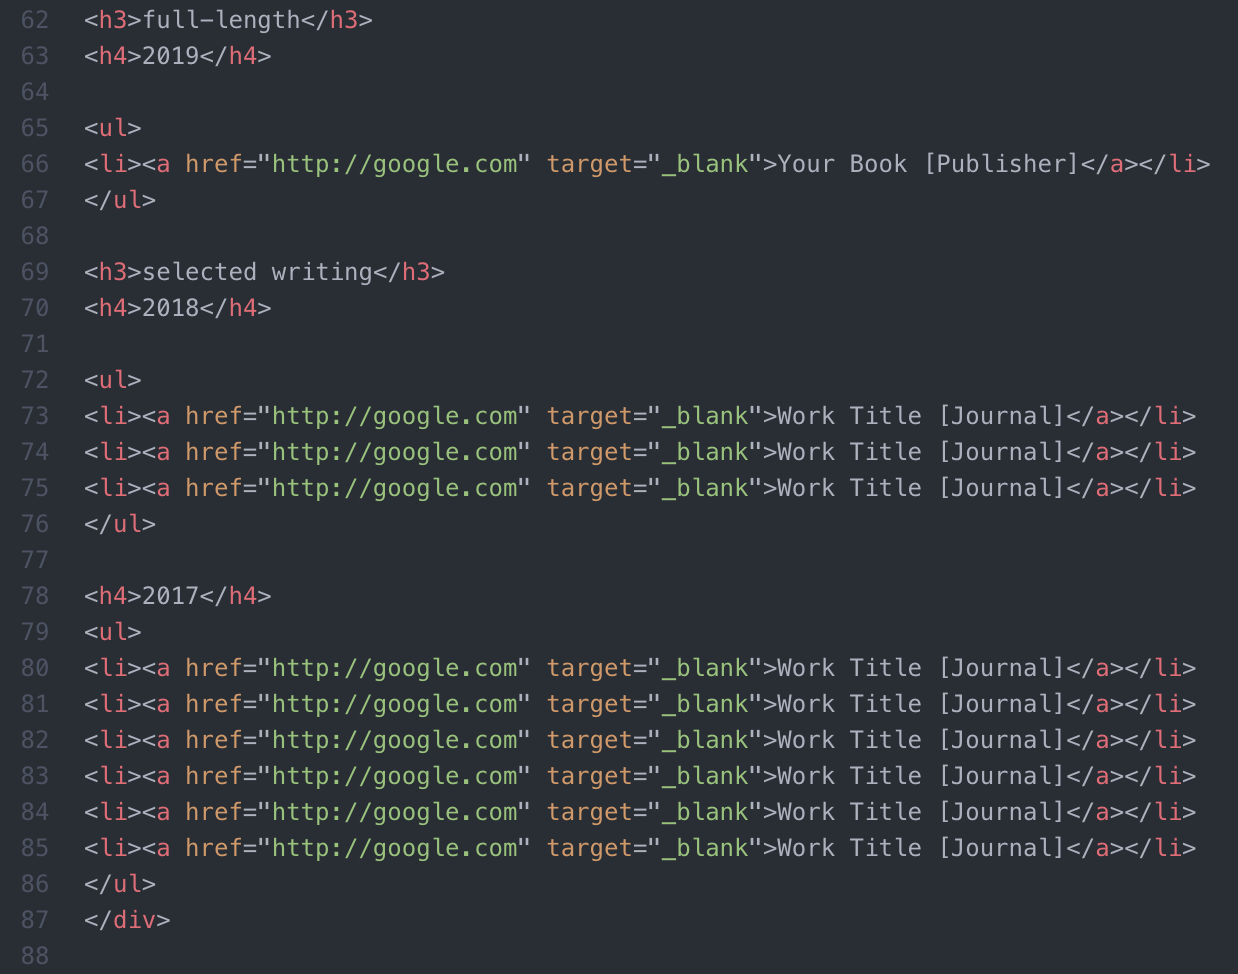
There are two pieces to understand here: the headers, which are made using <h3> and <h4> tags, and the links themselves.
You can edit, add or remove as many headers as you like. The template is set up to allow you to have different headings for different work using <h3>section</h3> and then date separated using <h4>date</h4>.
The links themselves are listed with bullet points using the <ul>...</ul> tag (which stands for unordered list). Each item in the list is kept in an item tag of its own: <li>LINK</li>.
A link in html looks like:
<a href="https://google.com" target="_blank">LINK TEXT</a>
We use href="https://google.com" to link to the site and target="_blank" to make sure the site is opened in a new tab. The link appears on the webpage with the text LINK TEXT.
Copy & paste to your heart's content and fill the page with all of your writing!
The last thing to do is to fill out the contact located at the bottom of the page:
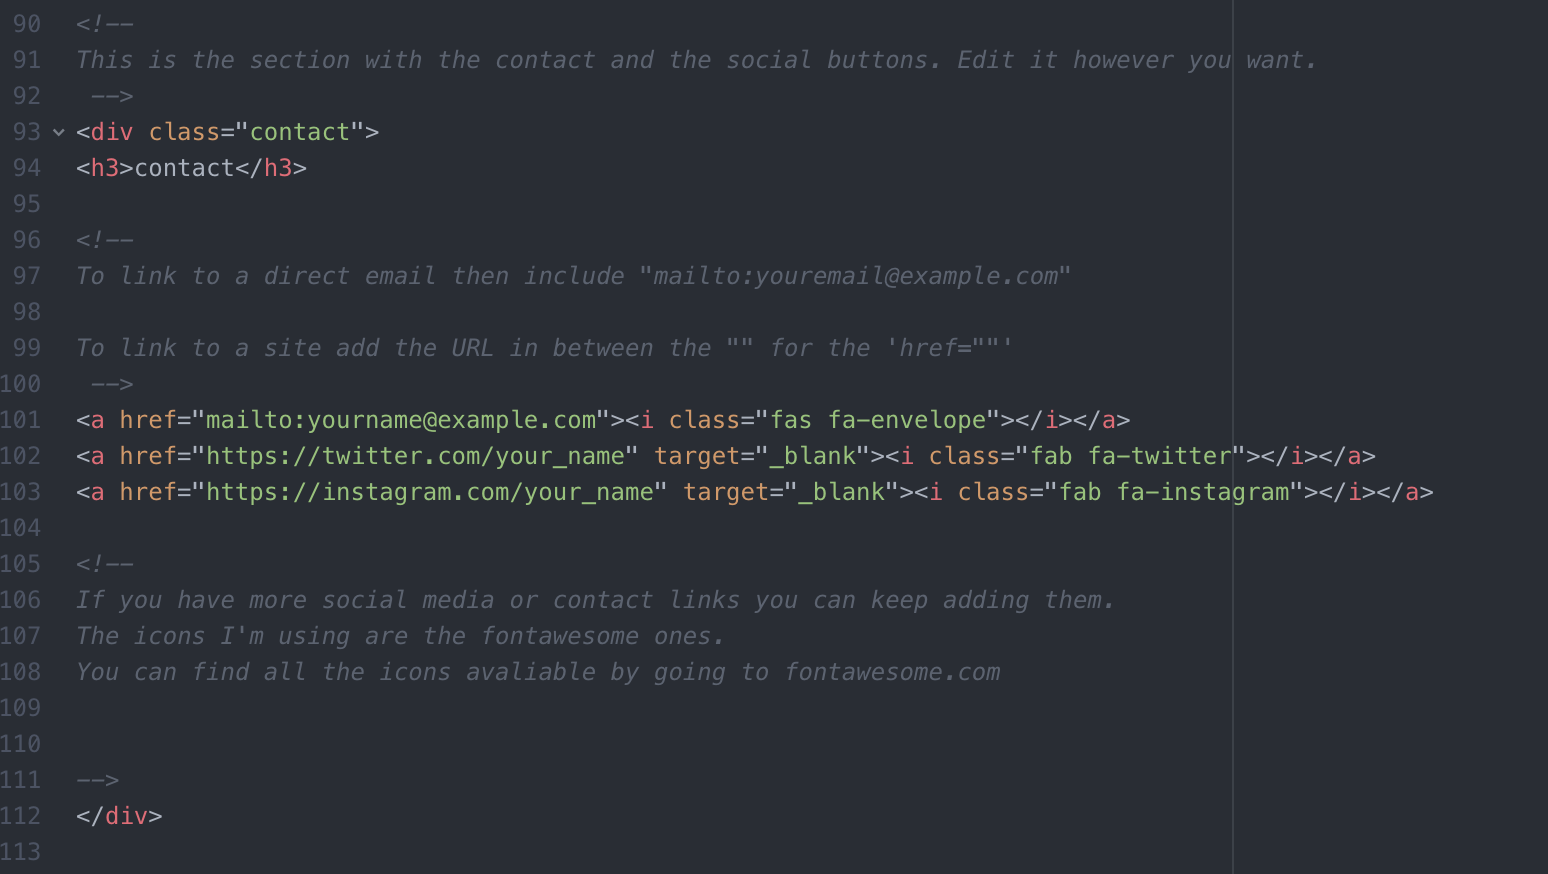
The page is designed using icons loaded in from Font Awesome. Almost any icon you can imagine is there and so if you want to add extra or different buttons just go find the one you want!
The part you'll want to replace is: <i class="fab fa-twitter"></i>
As it stands we have a Twitter button, an Instagram button and one for letting someone send you an e-mail, so let's fill those in. The Twitter & Instagram ones should be obvious, just change the URL to your own. For the email we use:
<a href="mailto:youremail@example.com" > e-mail </a>
The href="mailto:..." tells the user's computer to open up a new e-mail and puts you as the e-mail recipient. Simply put in your own email and everything should come together.
That should be everything in the template customised now. You can tinker with the site and test out new ideas whenever you want.
designing your page
Here I'll take you through how to go through and make some minor changes to the look of the site by showing you how to change the colour of various components. Please note: absolutely everything on this page is customisable and you're welcome to do whatever you like to the template if you've downloaded it. There's just too many possibilities for me to write a sensible DIY guide for you.One thing you may want to do, which I won't detail, is to change the font. I advise using Google Fonts and loading it into the colour.css file to overwrite the default settings from main.css. All the help you need is on the Google Font page.
If you want to make bigger changes to how the site looks then you're going to have to edit the main.css page. Google is your friend - everything I've learnt about making sites has been done by googling things one at a time.
a splash of colour
Lets get tweaking the page's colours. I have added in a simple file called colour.css. Opening this with your text editor you'll see all the tags that we've been using on our page and the current colour setting: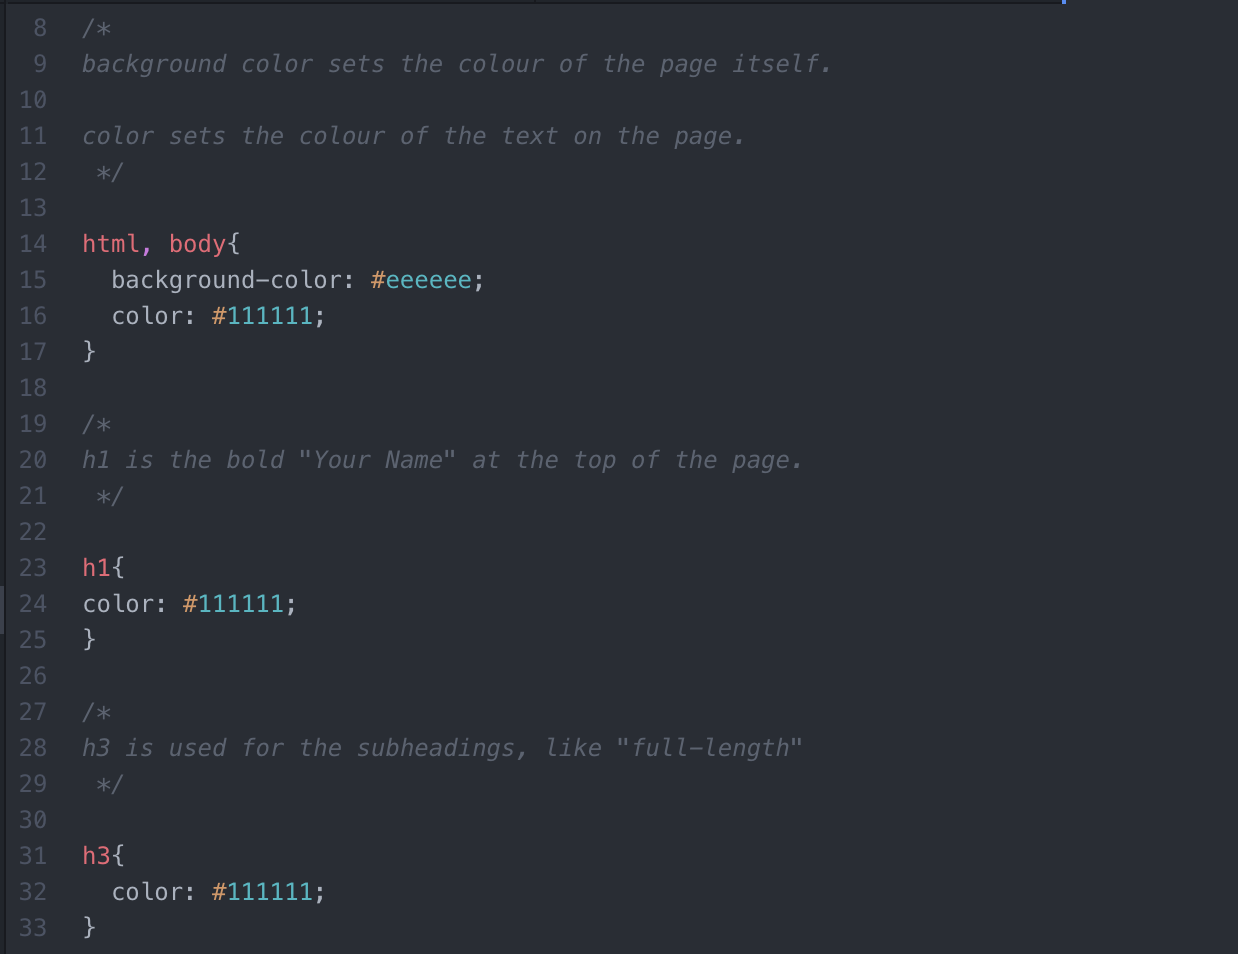
To start editing all you need to do is pick the colour you want and paste it over the current colour. When you save the file and refresh the page, you'll see the colour changes you've made! I have added comments throughout colour.css to help.
We can code in colours in two ways. The first way is by using css colour names. Some of these you can guess (red, pink, yellow, etc.), some you'll need to look up (MediumAquaMarine, LightGoldenRodYellow, etc.).
You use these colour names like so:
h1{
color: blue;
}
color: blue;
}
Another option is to use a hex code for the colour. This site lets you pick a colour from a palette and then gives you the hex code. You add these colours using the # followed by the 6 digit hex code:
h1{
color: #0000ff;
}
color: #0000ff;
}
Now it's just a case of going through the colour.css file and making the changes that you want! Css files can do a lot more than just change the colour though. You can also use this file to change font, text size, text weight, add background images and much more.
hosting your site
Now you're happy with the content on your site and how it looks, let's get it online. Don't worry if you're still tweaking the page, we'll be able to make edits to the site after it's hosted. For this tutorial we'll be using GitHub. This is not the only ad-free and zero-cost hosting method, for other options you could try GitLab or Surge.Getting online
GitHub have a good guide on their own site, but I've also included the steps on this page, trying to keep it as simple as possible.The first step is to:
- Sign Up to GitHub
Now you're signed up and logged in we need to:
- Make a new repository
- Repository Name: username.github.io
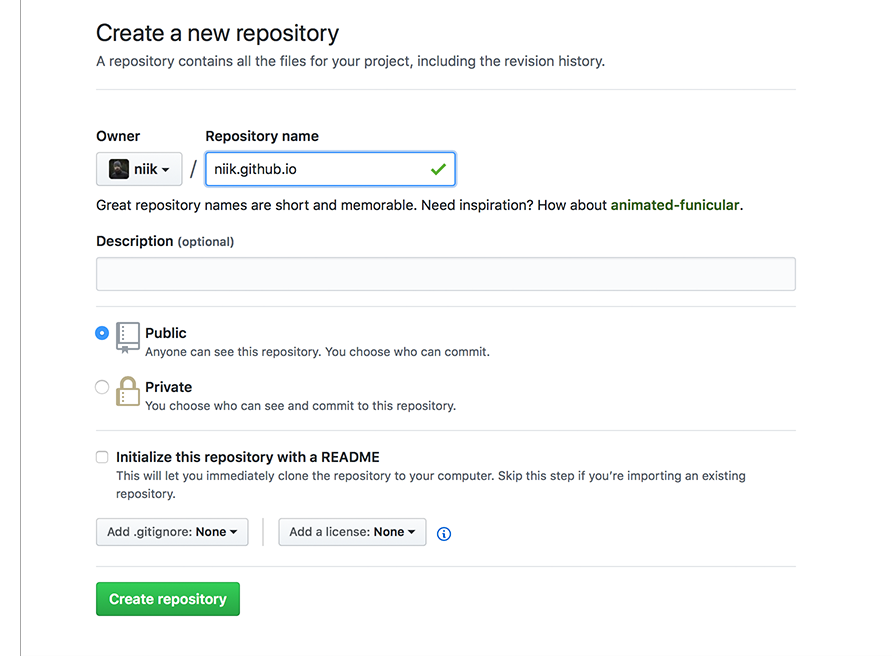
In your new repository we're now going to click upload files. You're going to want to include index.html, main.css and colour.css if you made any changes to it.
Once the files are uploaded you want to commit the files directly to the master branch. This saves the files you've uploaded into the repository.
That's it! You're done.
Head over to https://username.github.io to see your brand new site! Be sure to send it to me via Twitter or e-mail and I'll feature you on the main page.